
ESMA Summer 2026 Online Drawing Basics
Teacher: Mr. Marsden
Email: [email protected]
This 8-week online course is a practical summer bridge for incoming 3D Animation & VFX Master students at ESMA.
You do not need to be “good at drawing” before we start. Some of you may already draw; some may feel nervous. That is fine. We will work from simple marks, shapes, objects and poses, then slowly build toward clearer drawings and a short visual sequence.
The main idea is simple: drawing is a learnable visual language. Together we will practise looking, simplifying, constructing, correcting and trying again.
Format
- Duration: 8 weeks
- Session length: 2 hours per week
- Delivery: live online via Microsoft Teams
- Materials: pencil, pen, eraser and paper are enough
- Digital drawing: optional, not required
The course can be done fully with basic traditional materials. If you prefer to draw digitally, that is also fine, but this is not a software course.
What you need
- Pencil
- Eraser
- Black pen or fineliner
- Plain paper or sketchbook
- A phone or camera to photograph your weekly work
- Access to Microsoft Teams
- Optional: tablet, stylus, Photoshop, Procreate or another drawing app
- Optional: watercolor, markers or brushes if you want to add simple greyscale washes
We will mainly work in black, white and greyscale. Color is not the focus of this short course. We will concentrate on line, shape, proportion, construction, space, gesture, weight, silhouette and clarity.
How each class works
- Short check-in
- Quick review of selected uploaded work
- One clear drawing idea
- Live demonstration
- First attempt
- Correction and discussion
- Second attempt
- Small upload task for the next week
We will draw during the sessions. The work does not need to be polished. The important part is to draw, upload, get feedback, correct and try again.
Course rules
This is not a copying course.
- No tracing.
- No copying finished images as final work.
- No copying manga pages, concept art, screenshots, photographs, AI images or finished illustrations.
- No AI-generated or AI-assisted visual submissions.
- Your uploaded work must be drawn by you.
We can use reference to understand things, but the exercises should come from observation, simple objects, live demonstrations, prompts and your own visual problem-solving.
A messy first attempt is normal. Restarting is normal. Correction is not failure; it is part of drawing.
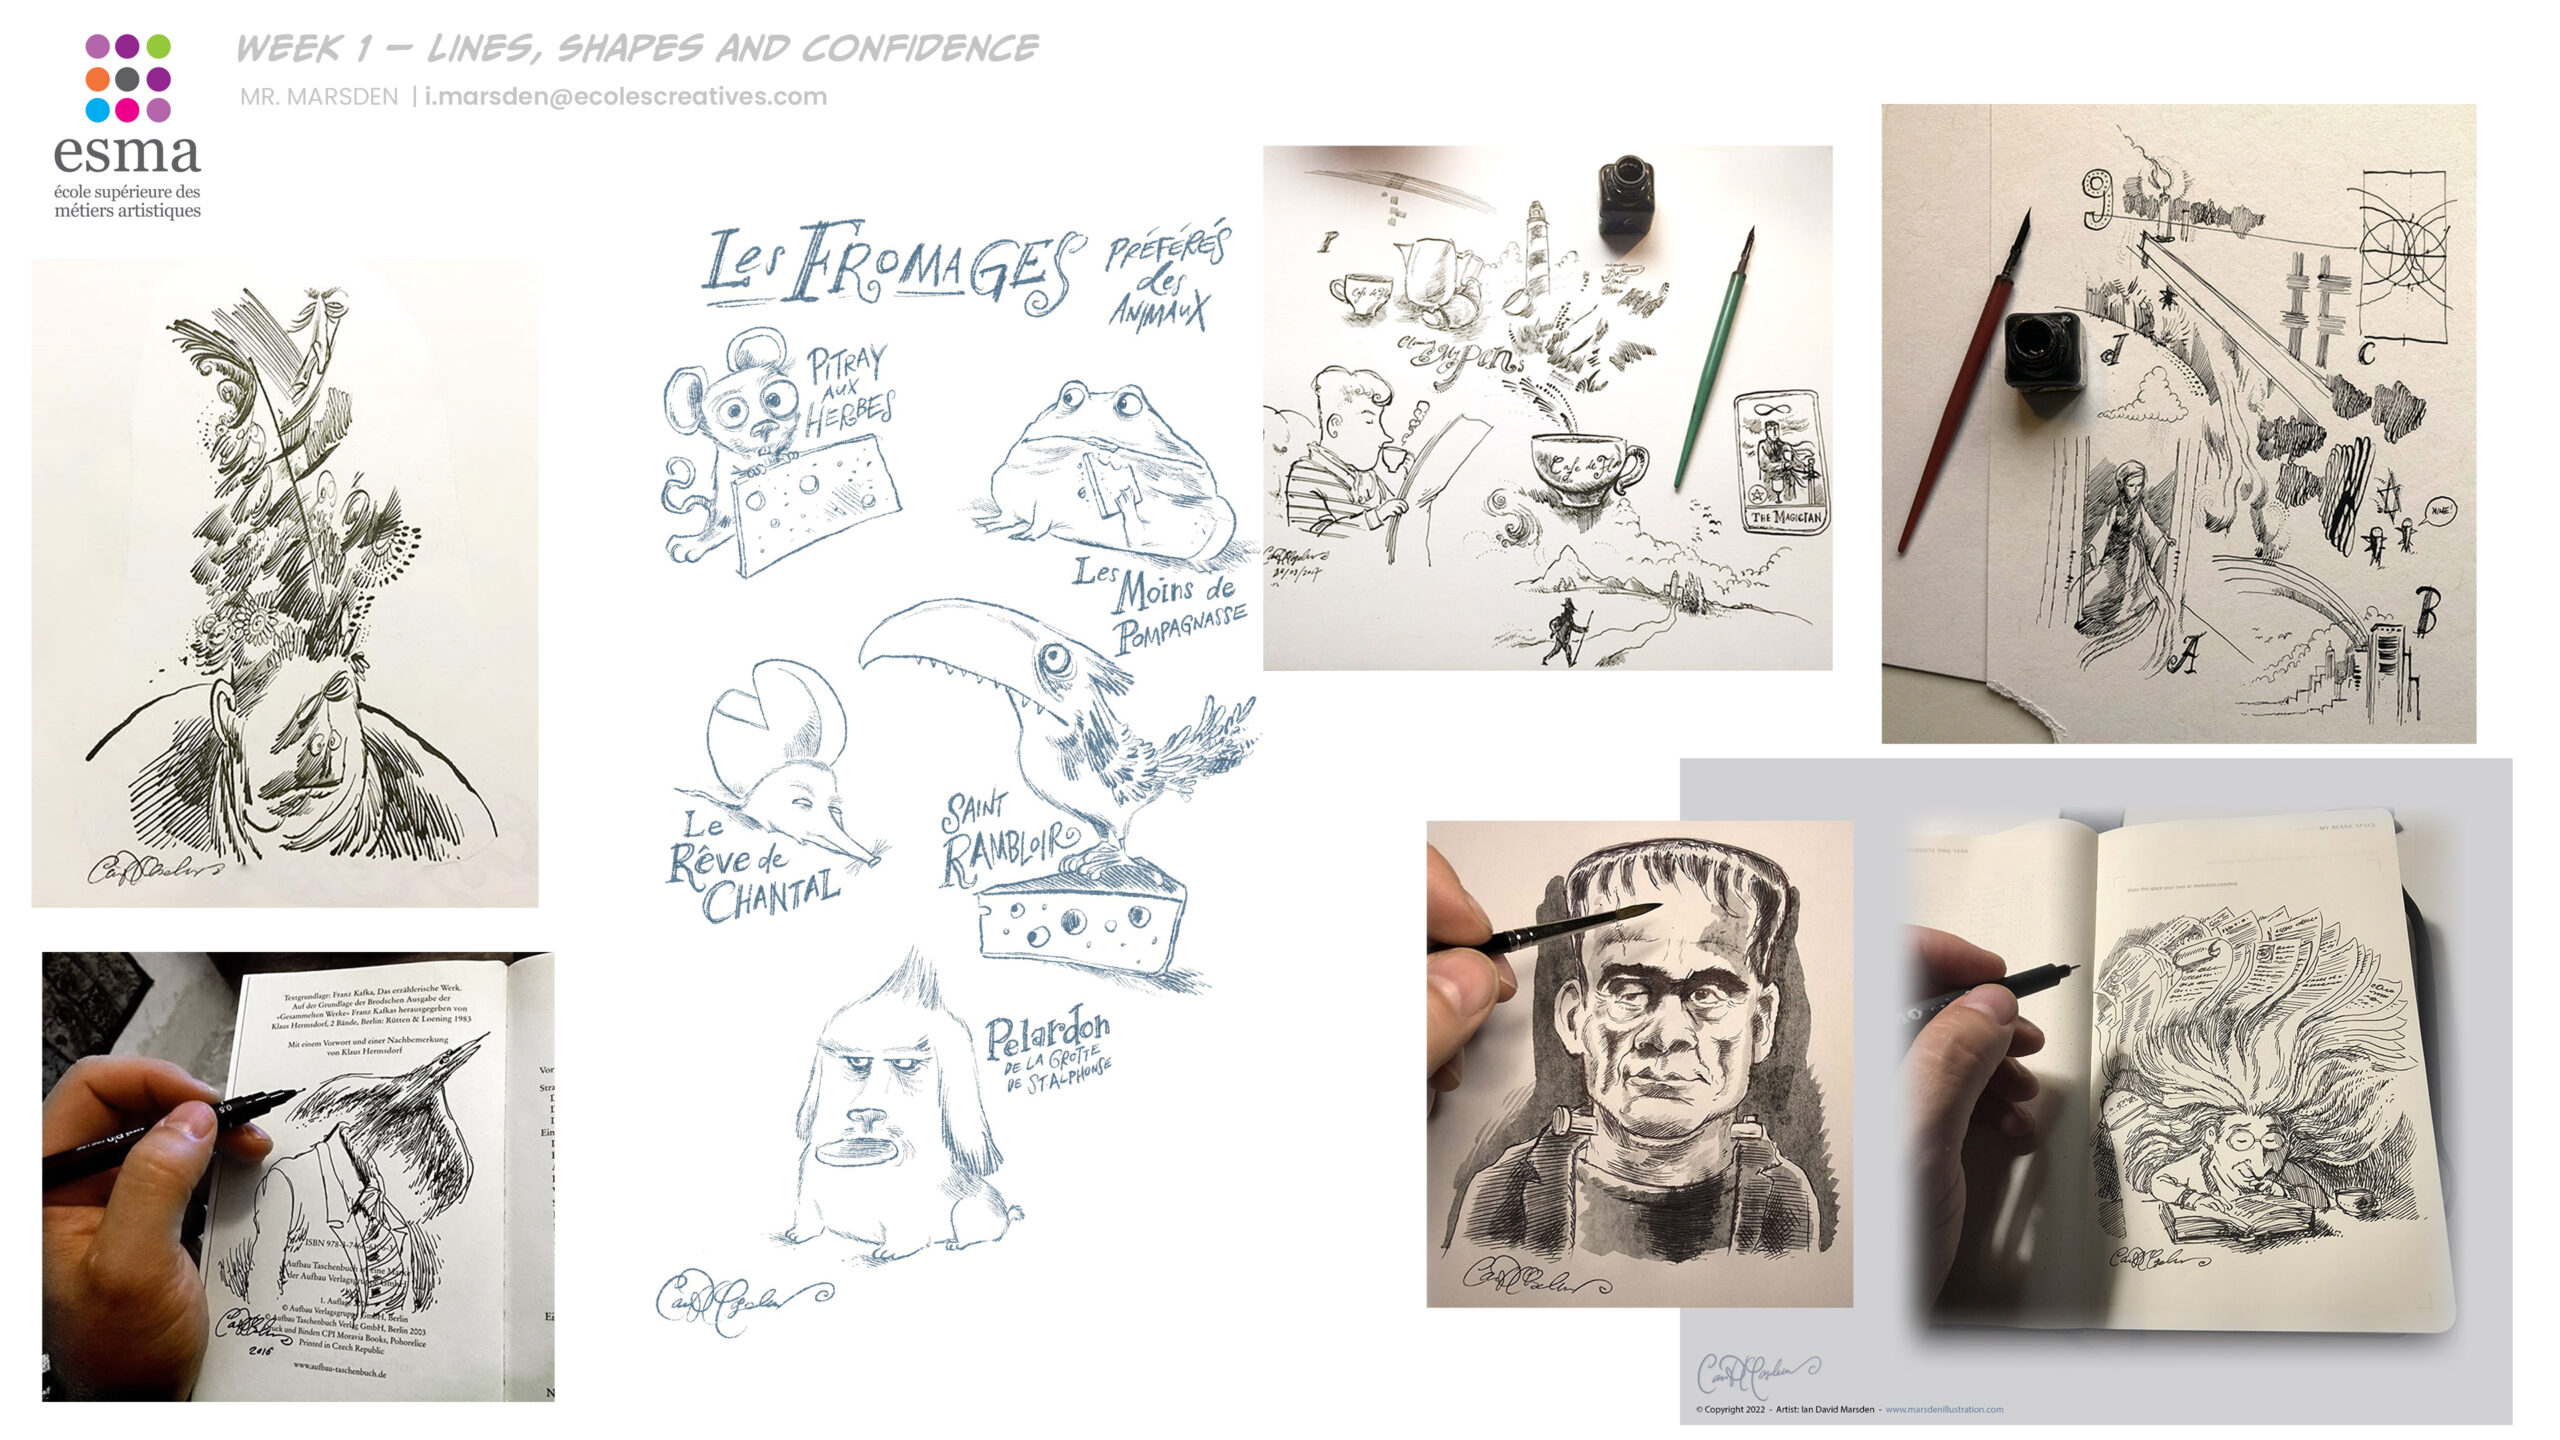
Week 1 — Lines, Shapes and Confidence
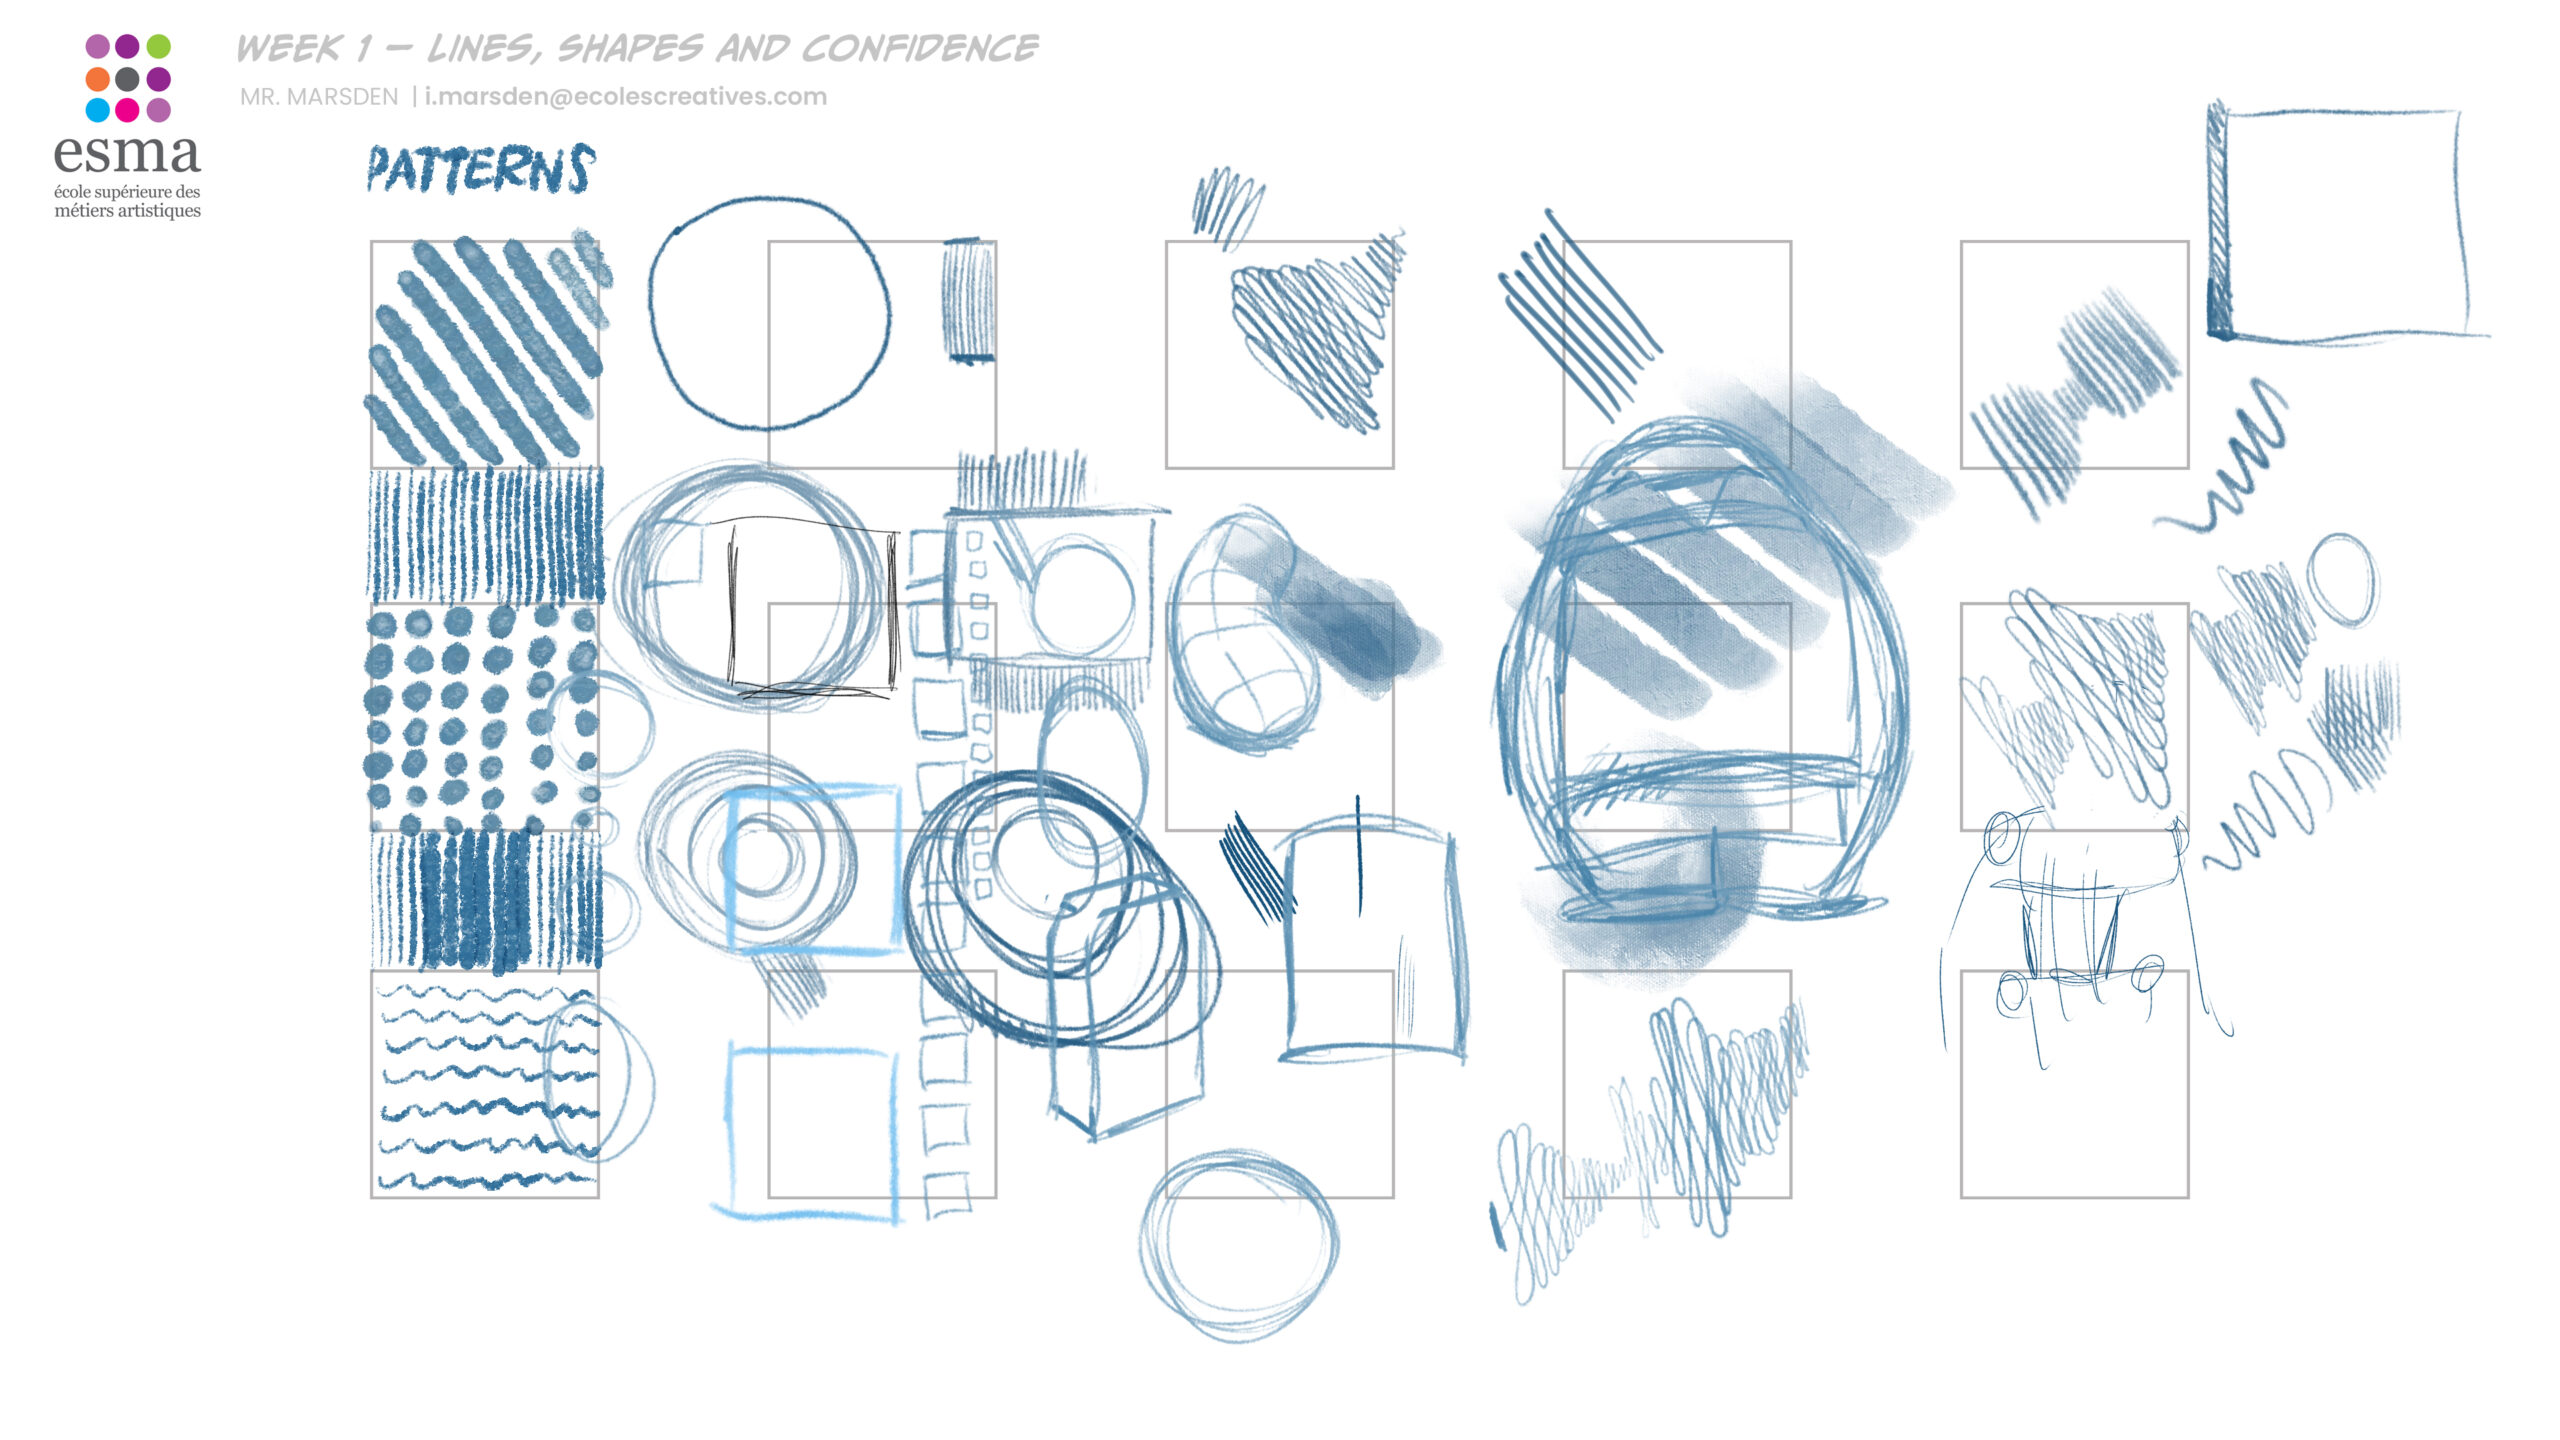
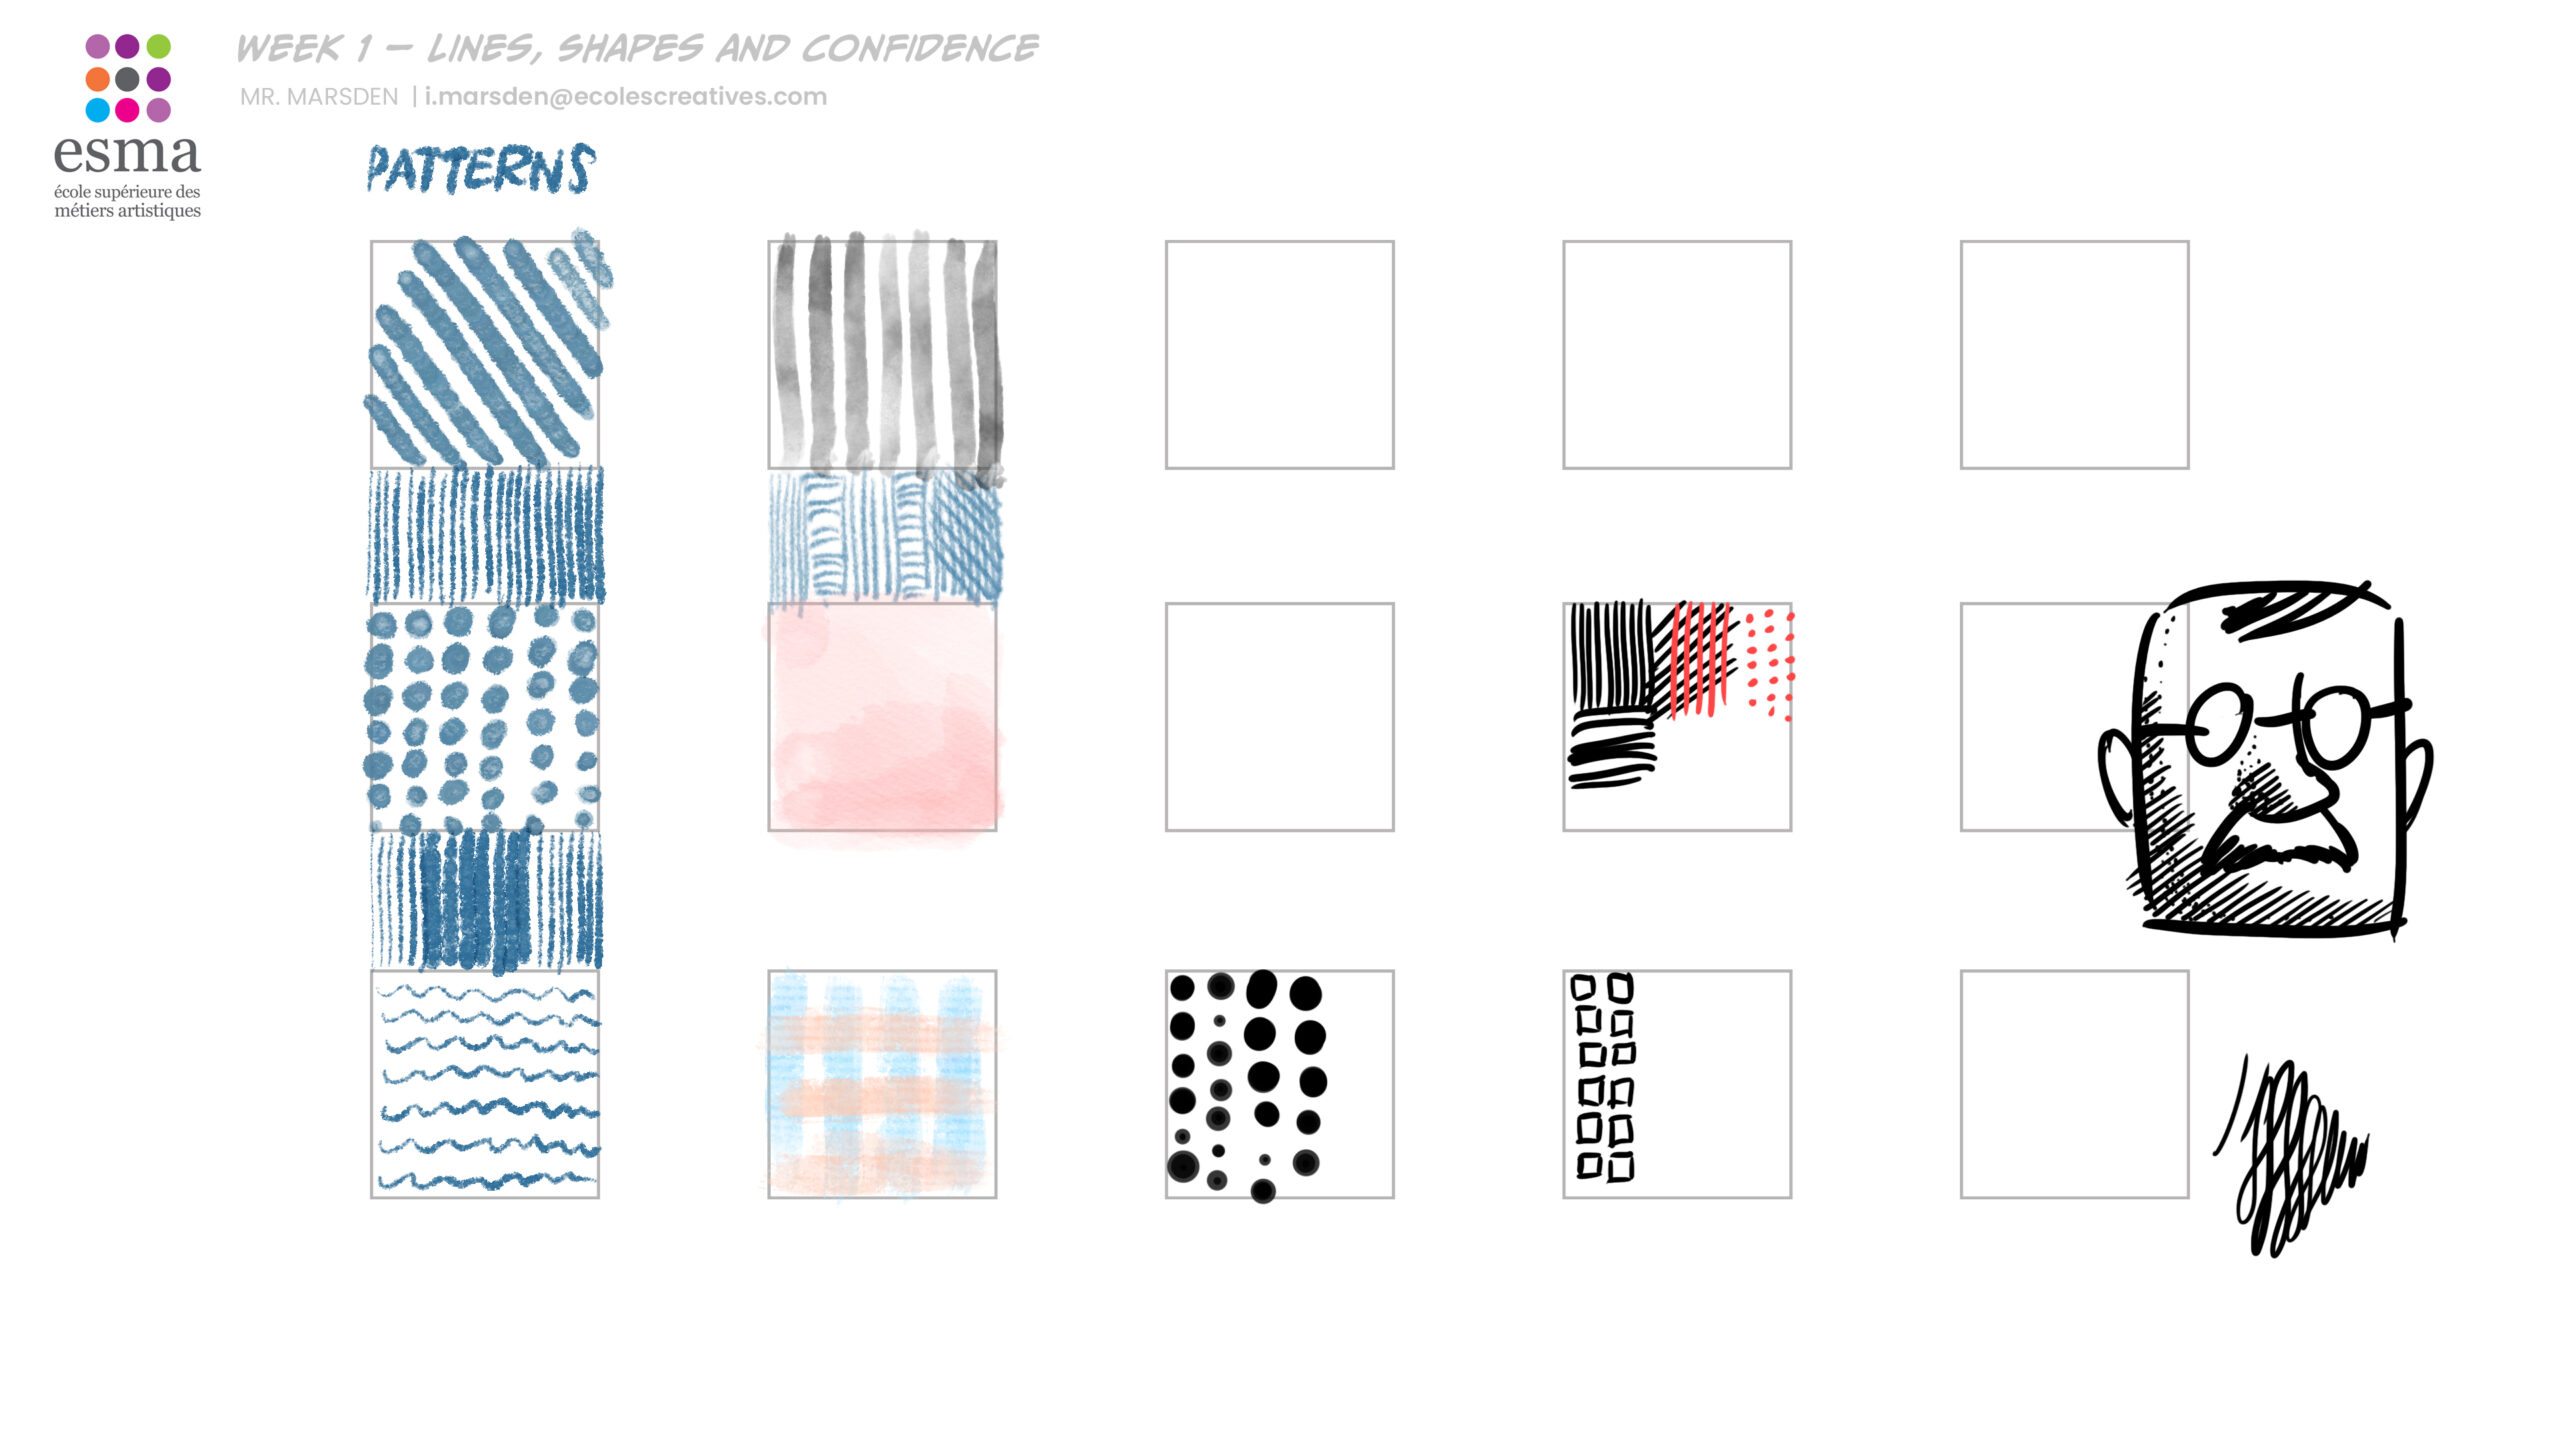
We begin with simple marks: straight lines, curves, loops, ellipses, circles, squares and rectangles. The goal is to reduce fear and get used to putting marks on paper.
- Line control warm-ups
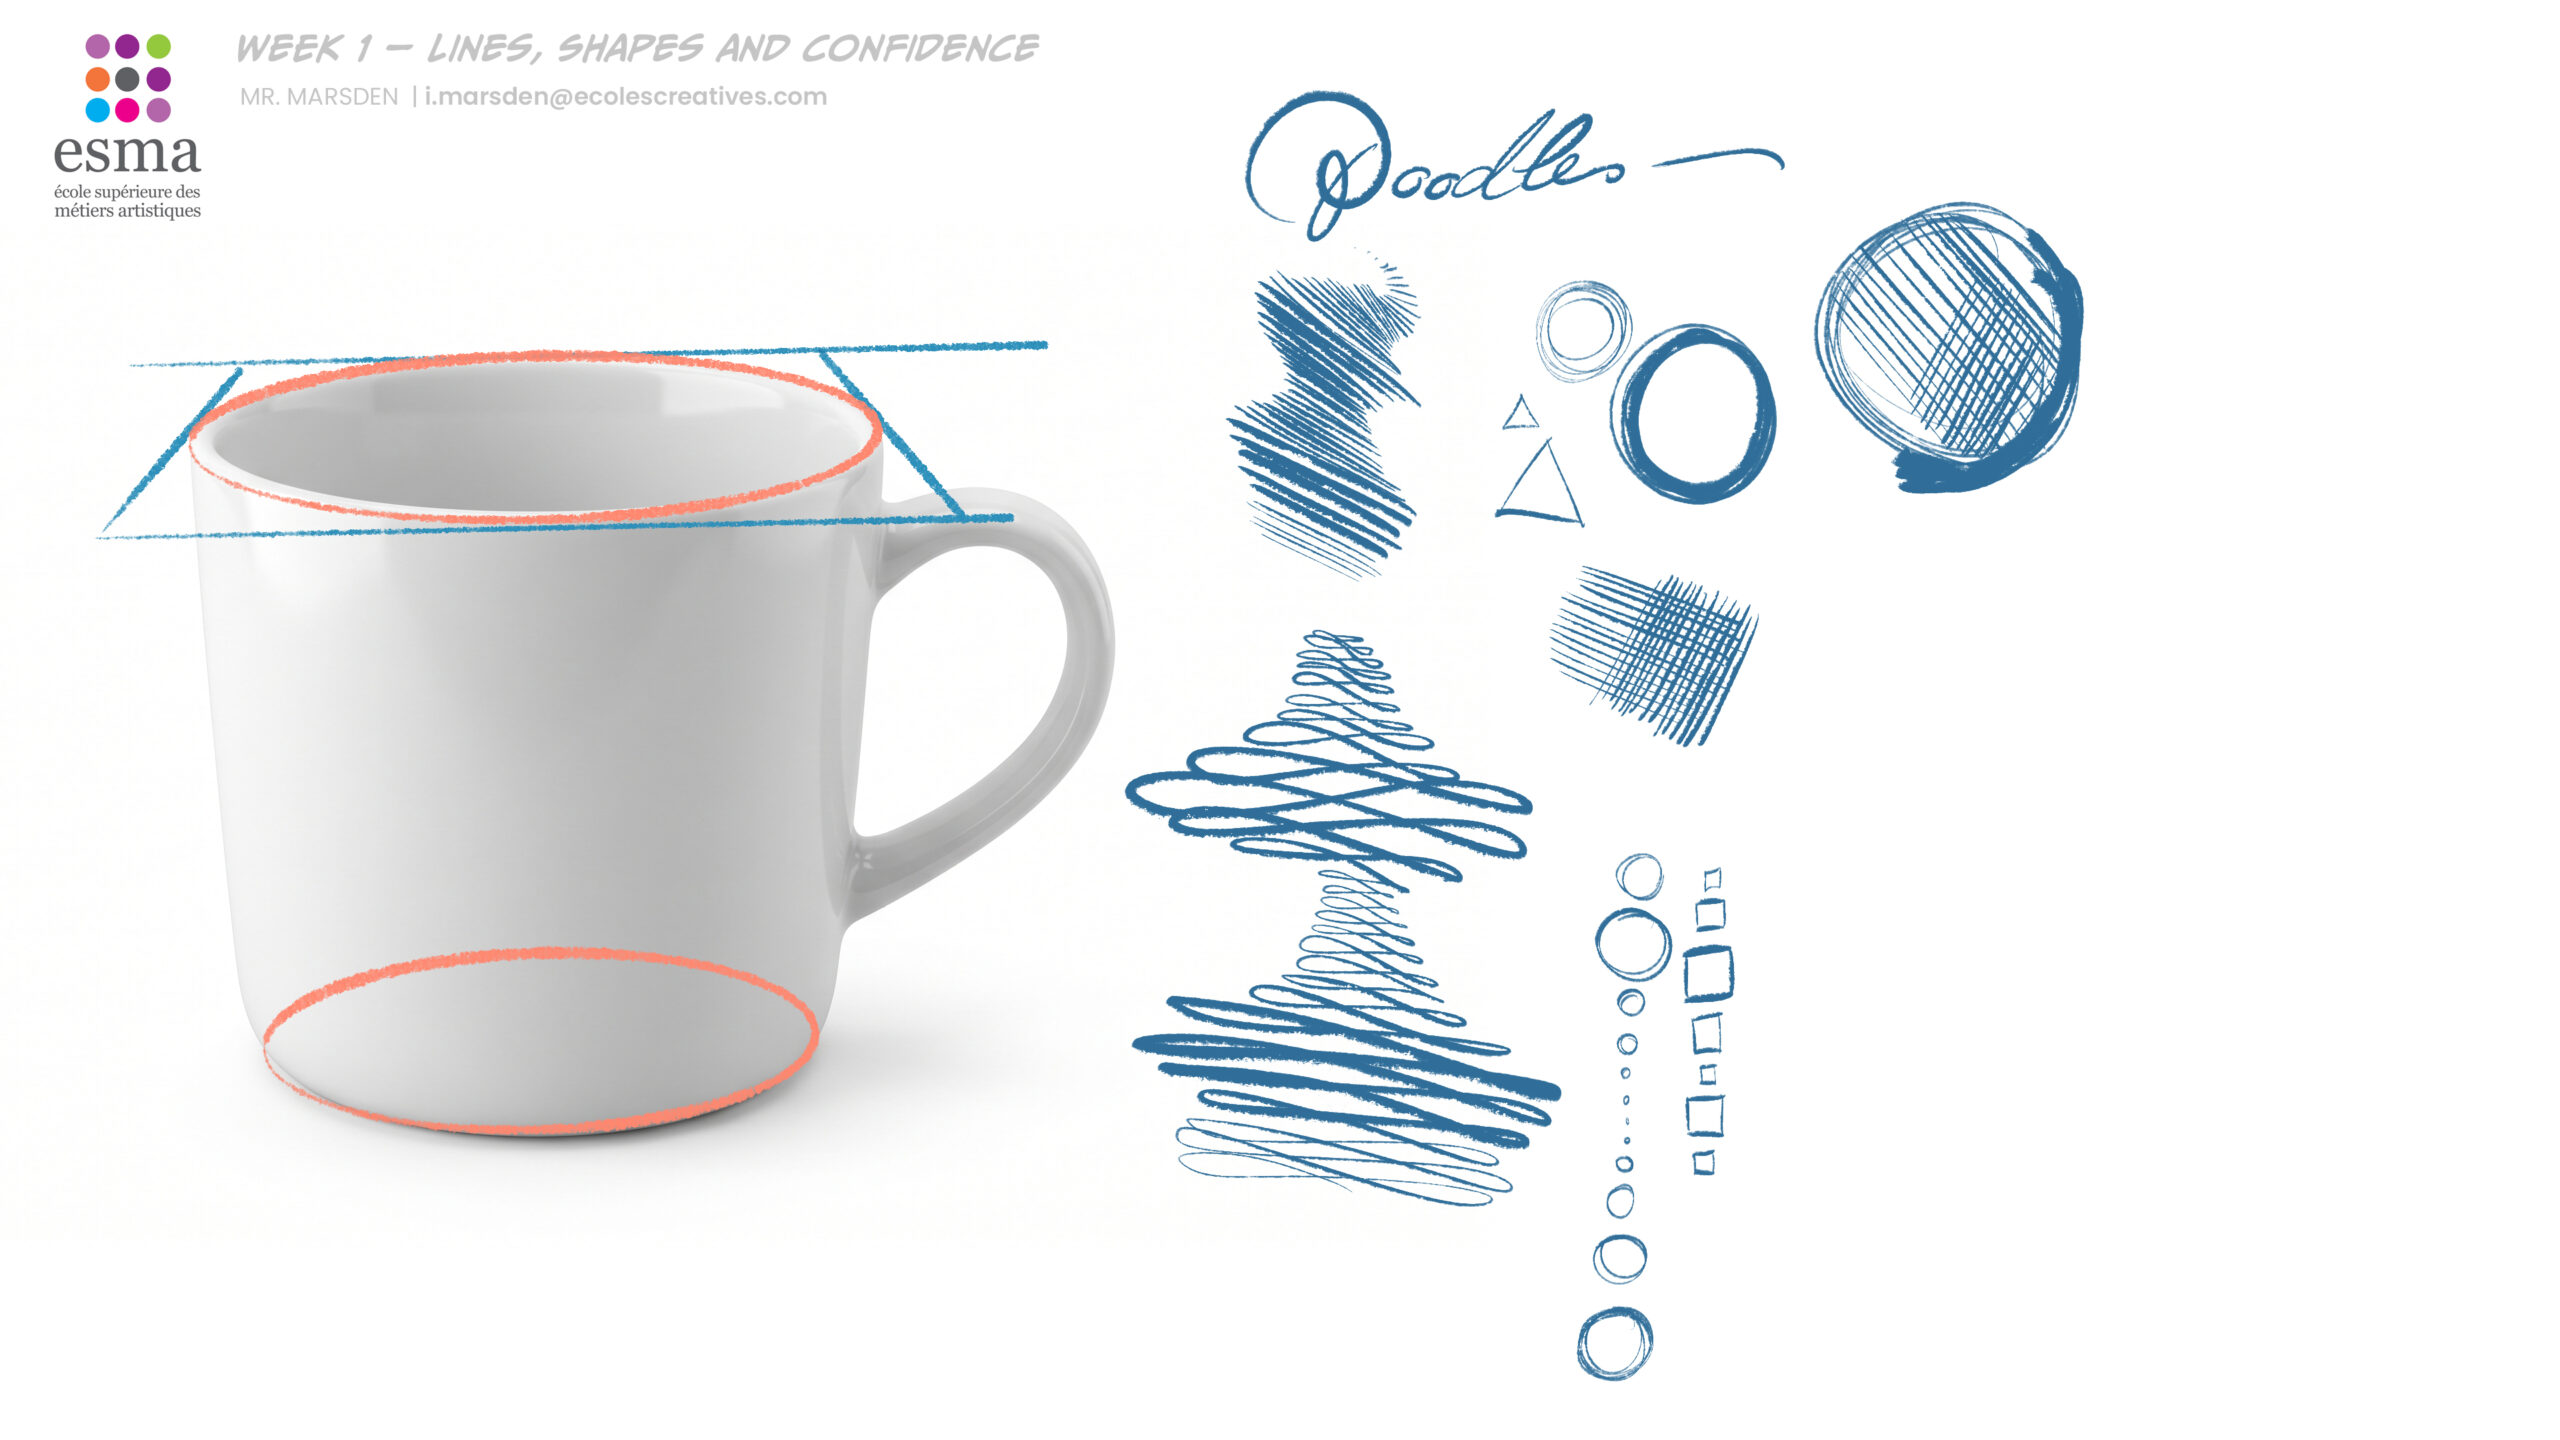
- Simple objects as flat shapes
- One object drawn twice: first rough, then clearer
Upload: one page of line warm-ups and one simple object drawn twice.
Week 2 — Building Objects with Simple Volumes
We move from flat shapes into simple three-dimensional forms. Boxes, spheres, cylinders, cones and pyramids help us understand how objects are built before we add details.
- Basic volumes and construction lines
- Drawing through forms
- Breaking objects into simple volumes
- Combining forms to create a simple prop
Upload: Drawings with objects broken down into simple volumes and one invented object or prop built from those volumes. As always have fun and be creative.
STUDENT BOOK RESOURCE LINK: https://drive.google.com/drive/folders/1A-y6xnLJSb8YtR3uNltVBCSV9nnkFxWZ
PDF with In class sketches for course 002: https://drive.google.com/file/d/1XhI0kX8ll0xaAIkZkYcXlzdsOudDmhLt/view?usp=sharing
Week 3 — Learning to Look: Observation, Proportion and Comparison
This week we practise comparing rather than assuming. We look at height, width, angles, distances, negative space and the relationship between different parts of an object. We also introduce the basic idea of one-point perspective as another way of understanding what we observe.
- Height, width and proportion
- Angles and negative space
- Two objects in relation to one another
- Construction checked against observation
- Alignment and comparative measurement
- Introduction to one-point perspective
- Simple boxes receding towards a single vanishing point
Upload: two or three simple objects drawn together, plus a short note naming one correction made after looking again.
Free perspective grids: https://www.magnific.com/free-photos-vectors/one-point-perspective-grid
Week 4 — First Steps in Space: Construction and Perspective
Perspective now becomes a practical way of thinking about three-dimensional space. We rotate boxes and simple forms, explore eye level and viewpoint, and learn how to place objects convincingly within the same environment.
- Rotating boxes and simple forms
- Eye level and horizon line
- One- and two-point perspective
- Objects and heads inside simple construction boxes
- Objects sitting on a shared surface
- Simple tabletop or room-corner scenes
- Foreground, middle ground and background
- Overlap as a depth cue
Upload: one page of rotating forms and one simple tabletop or room-corner drawing with objects placed believably in space.
Week 5 — Gesture Before Anatomy: Rhythm, Balance and Silhouette
We begin figure drawing by concentrating on movement, balance and simple construction. A clear pose starts with a strong line of action, believable weight and an expressive silhouette.
- Line of action and rhythm
- Simple construction of the head, ribcage and pelvis
- Centre of gravity and balance
- Expressive poses and silhouette checks
Upload: a page of simple gesture poses and one pose revised for a clearer silhouette. You can create your own characters if you like.
Week 6 — Weight, Force and Animation Principles
Now that we can construct a simple figure and create a clear pose, we begin to make that pose feel alive. This week introduces the basic principles of movement used in animation, helping us communicate weight, force, balance and emotion through drawing.
- Heavy and light actions
- Weight, gravity and balance
- Squash and stretch
- Anticipation
- Arcs, extremes and overlap
- Simple character acting through pose
Upload: A short series of simple poses showing different weights, actions or emotional states. Flour sacks may be used as examples, but you are welcome to experiment with your own simple characters if you wish.
Week 7 — Drawing with Intention: Staging and Visual Storytelling
Once we can create believable poses, we begin using them to communicate ideas. This week introduces the fundamentals of visual storytelling, showing how composition, staging and camera choice guide the viewer’s attention and make an image immediately understandable.
- Staging and composition
- Visual hierarchy and focal point
- Framing and blocking
- Camera distance and viewpoint
- Character intention and readability
Upload: One simple narrative drawing showing a character, an object and one clear action or intention.
Week 8 — Sequential Storytelling: Three-Frame Comic / Storyboard
In the final week we combine everything we have learned into a simple three-frame visual sequence. The emphasis is on communicating a story clearly through drawing rather than producing polished artwork.
- Beginning, action and result
- Cause and effect
- Continuity, screen direction and reading order
- Clear poses, space and visual storytelling
Final upload: One three-frame comic strip or storyboard showing a simple character, one clear action, at least one object or obstacle, readable space and a visible change from Frame 1 to Frame 3. Text is optional.
Recommended Books
You do not need to buy these books. They are simply useful references if you want to go further. Libraries, second-hand editions and school resources are all fine.
- Stan Lee and John Buscema — How to Draw Comics the Marvel Way
- Andrew Loomis — Figure Drawing for All It’s Worth
- Andrew Loomis — Fun with a Pencil
- Preston Blair — Cartoon Animation
- Richard Williams — The Animator’s Survival Kit
- Will Eisner — Comics and Sequential Art
- Scott McCloud — Understanding Comics
- Scott McCloud — Making Comics
- Frank Thomas and Ollie Johnston — Disney Animation: The Illusion of Life
Reminder: the aim is not to create polished portfolio artwork. The aim is to practise looking, simplifying, constructing, correcting and trying again.
For those of you who want to start experimenting with digital art and the PROCREATE software on iPad here are some tutorial videos for beginners. Most of these techniques would be exactly the same in Adobe Photoshop as well.

Optional Further Reference — Personal Style, Abstraction and Exaggeration
These links are optional external references. They are not required assignments, and the course exercises remain based on original observation, simplification and drawing practice.
For those of you who would like to explore personal style, abstraction, caricature and animation drawing a little further, I have added a few useful reference links below. These touch on observation, simplification, exaggeration, shape language and character design — all useful when trying to move away from purely academic drawing without losing structure. Try building faces, characters and objects from simple shapes first — circles, squares, triangles — before adding detail. Also work with expressions, moods and poses that read immediately. For this, one of an animator’s most useful tools is still wonderfully low-tech: a handheld mirror. In animation, clarity, silhouette and movement usually matter more than surface detail.
Tom Richmond — How to Draw Caricatures: The 5 Shapes
https://www.tomrichmond.com/how-to-draw-caricatures-1-the-5-shapes/14/02/2008/
Proko — Caricature Essentials from Start to Finish
https://www.youtube.com/watch?v=EGutjSF8XLs
Damian Osborne — How to Draw an Abstract Drawing
https://www.damianosborne.com/how-to-draw-an-abstract-drawing
Practice Drawing This — Practice Drawing from Observation
https://practicedrawingthis.com/cgi-bin/carousel.cgi?episode=article-practice-drawing-from-observation§ion=free-online-drawing-course
Art UK — Experimental Drawing
https://artuk.org/learn/learning-resources/experimental-drawing